 8076
8076
 2019-11-11
The checkra1n team officially released the checkm8 bootrom exploit-based checkra1n jailbreak tool this weekend as a public beta to the masses, and while we’d seriously recommend holding off until the tool comes out of beta, we’d totally understand if you’re a bit antsy to go hands-on with things right now.
In this tutorial, we’ll be showing you how to use the checkra1n jailbreak tool to liberate a supported iPhone, iPad, or iPod touch.
Before you can jailbreak with checkra1n, you’ll need to know a few prerequisites:
The tool is macOS-only at this time (support for other operating systems is coming soon)
The tool is semi-tethered, which means you’ll need a computer to boot jailbroken if you power off
The tool supports 64-bit A5-A11 devices from the iPhone 5s to the iPhone X with the exception of a few: iPad Air 2, iPad (5th generation), and iPad Pro (1st generation).
Your device must be running iOS 12.3 or later (up to iOS 13.2 at the time of this writing)
The tool is experimental on the following handsets: iPhone 5s, iPad mini 2, iPad mini 3, iPad Air
Cydia is installed by default, but other package managers will be added as options in the future
It’s also worth noting that the checkra1n beta release is CLI-only (command-line interface), but there is a GUI workaround that we’ll show you in this piece. So without further ado, let’s get started!
If you meet all the criteria above and you’re ready to jailbreak with checkra1n, then follow the steps below:
1) Plug your device into your Mac with an MFi-certified Lightning cable. Trust your device if necessary.
2) Download the checkra1n jailbreak tool from the checkra1n team’s official website. Don’t download this jailbreak tool from anywhere else besides the official website, or else it may contain malware.
3) After the download completes, double-click on the .dmg file to open it and then drag the checkra1n app into your Mac’s applications folder:

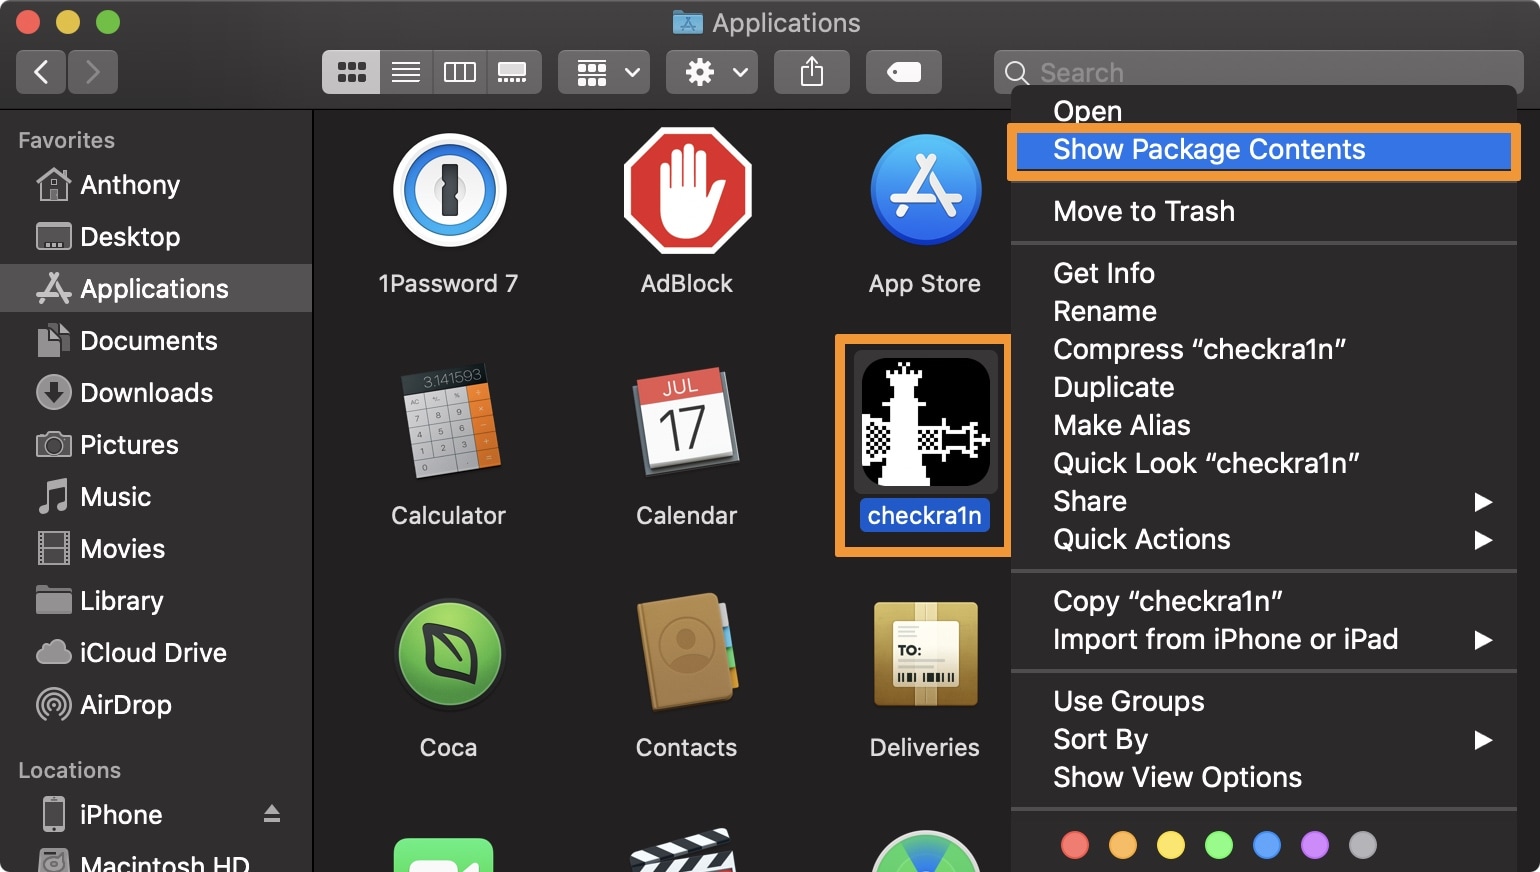
4) Next, open your Mac’s application folder, right click on the checkra1n app, and click on the Show Package Contents option:
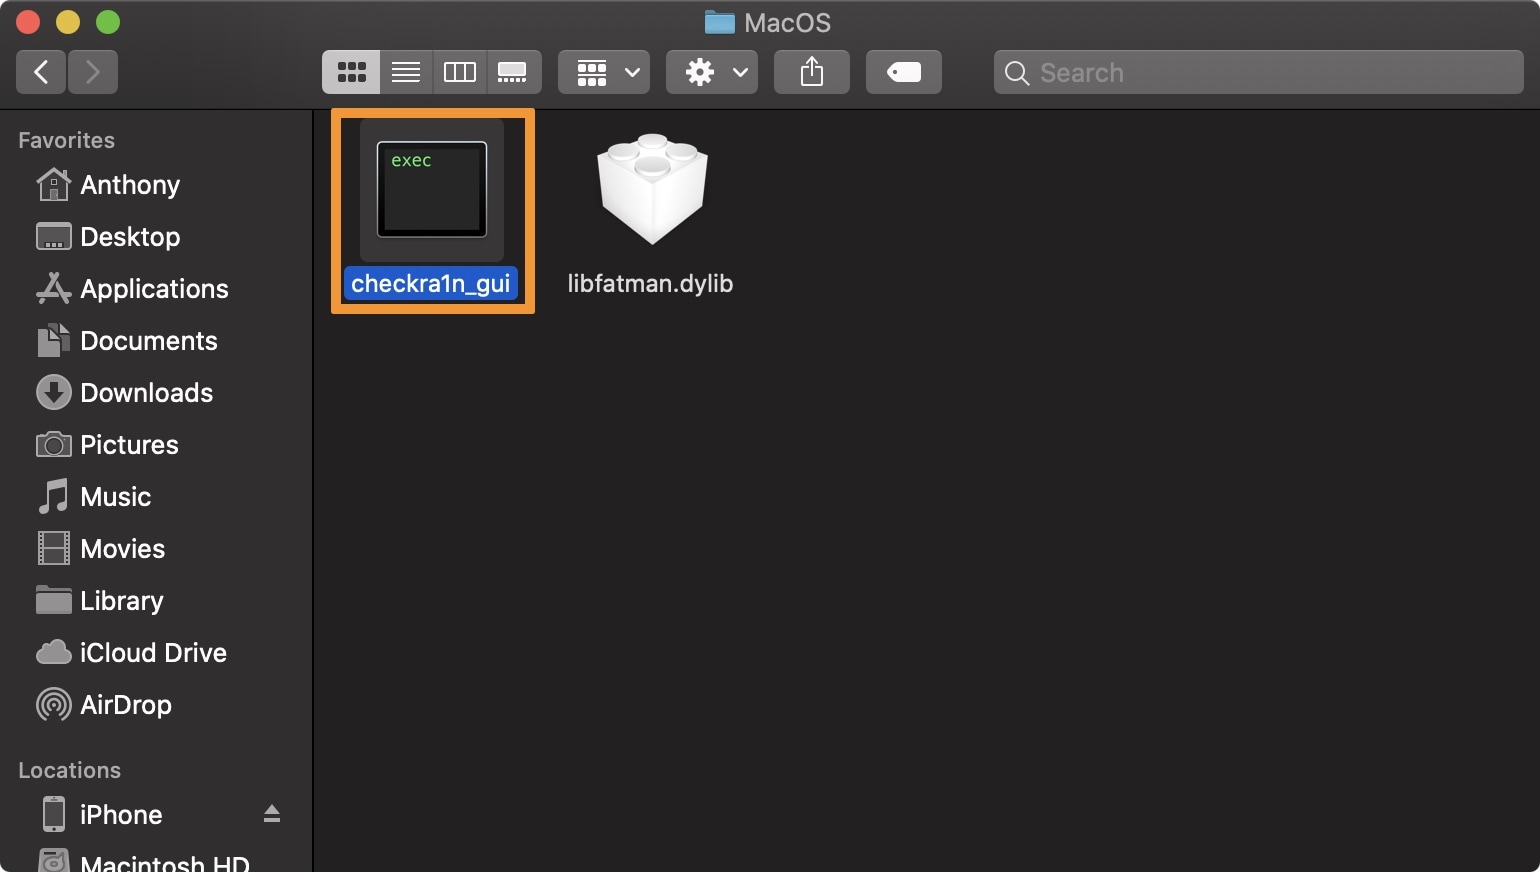
5) Now, navigate to checkra1n -> Contents -> MacOS and double-click on the checkra1n_guiTerminal file:
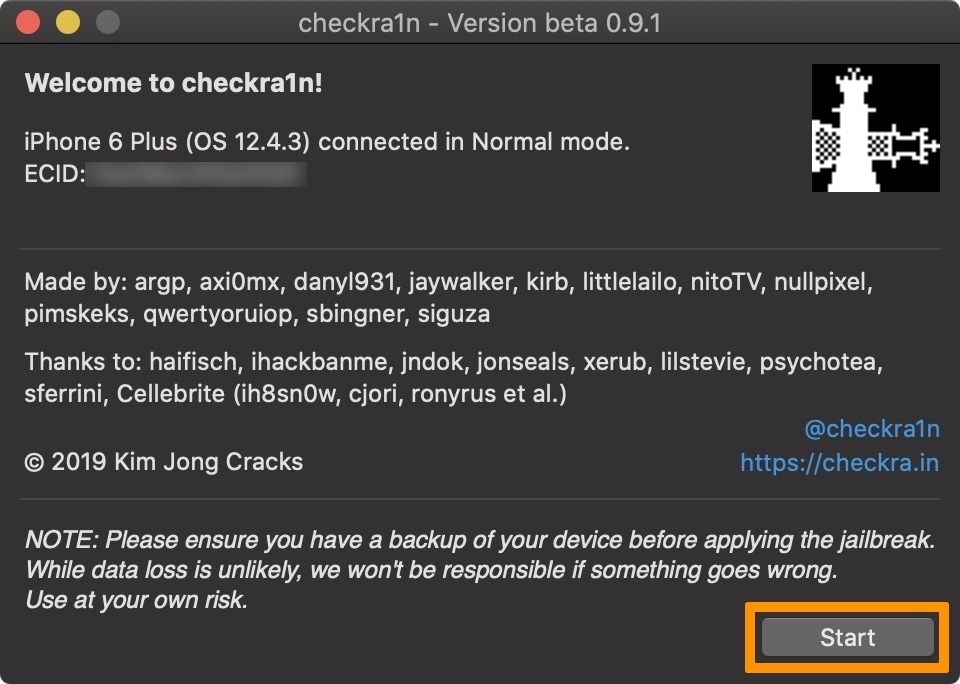
6) You will now be greeted by the checkra1n jailbreak application. Check to see that your connected device has been recognized by checkra1n. If it has, then clicks on the Start button:
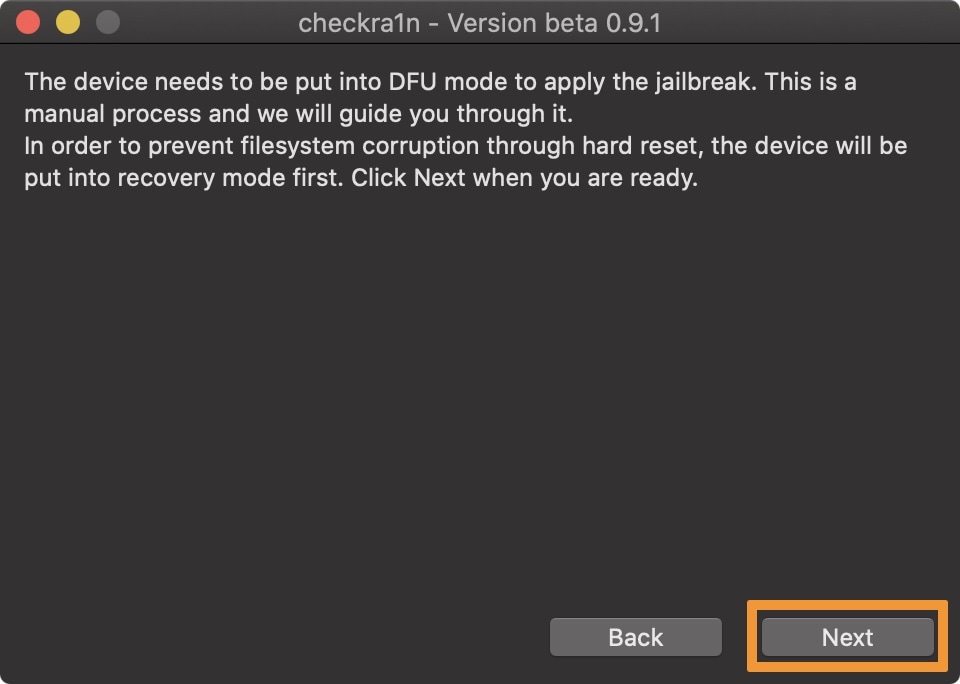
7) The checkra1n app will now tell you that you will need to enter DFU mode. Click the Next button:
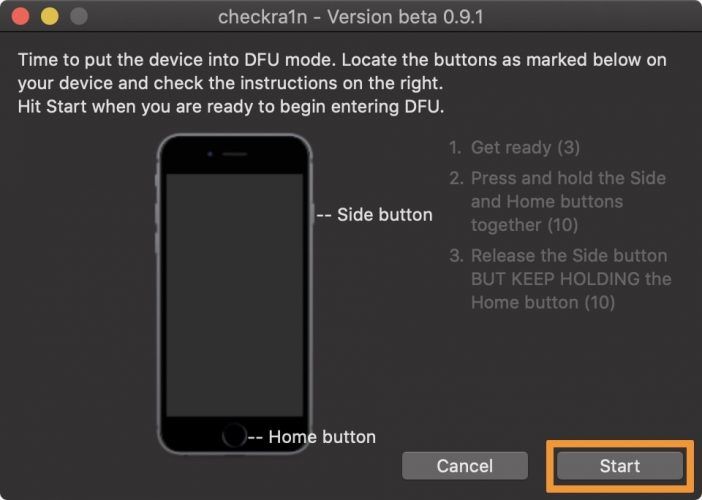
8) After the above step is done, you will be guided through the process of entering DFU mode. When ready, click the Start button and follow the on-screen instructions:
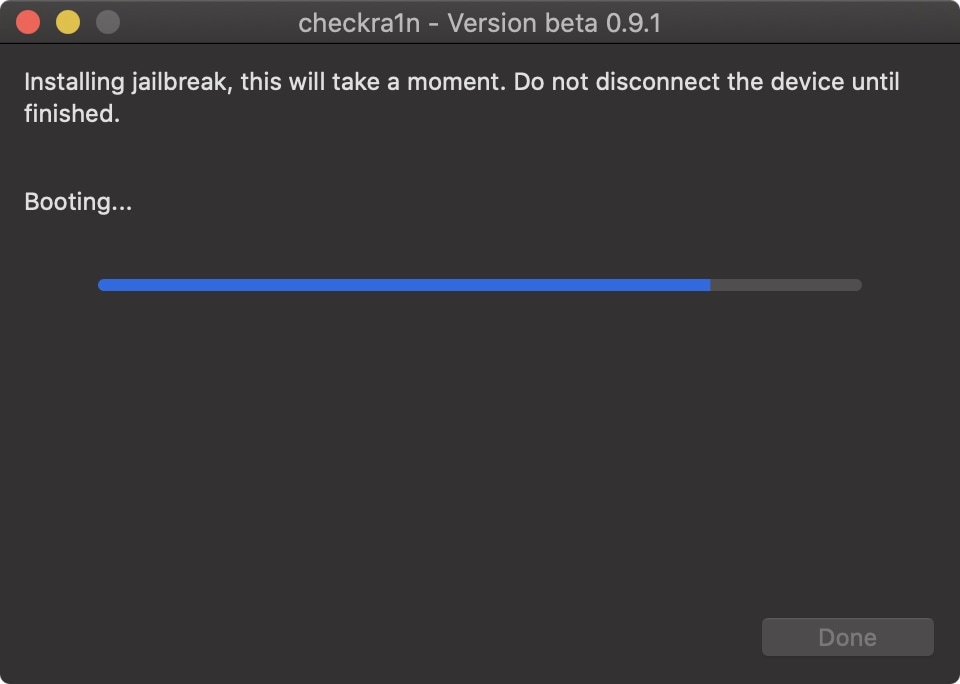
9) Once you’ve entered DFU mode successfully, checkra1n will begin exploiting and jailbreaking your device:
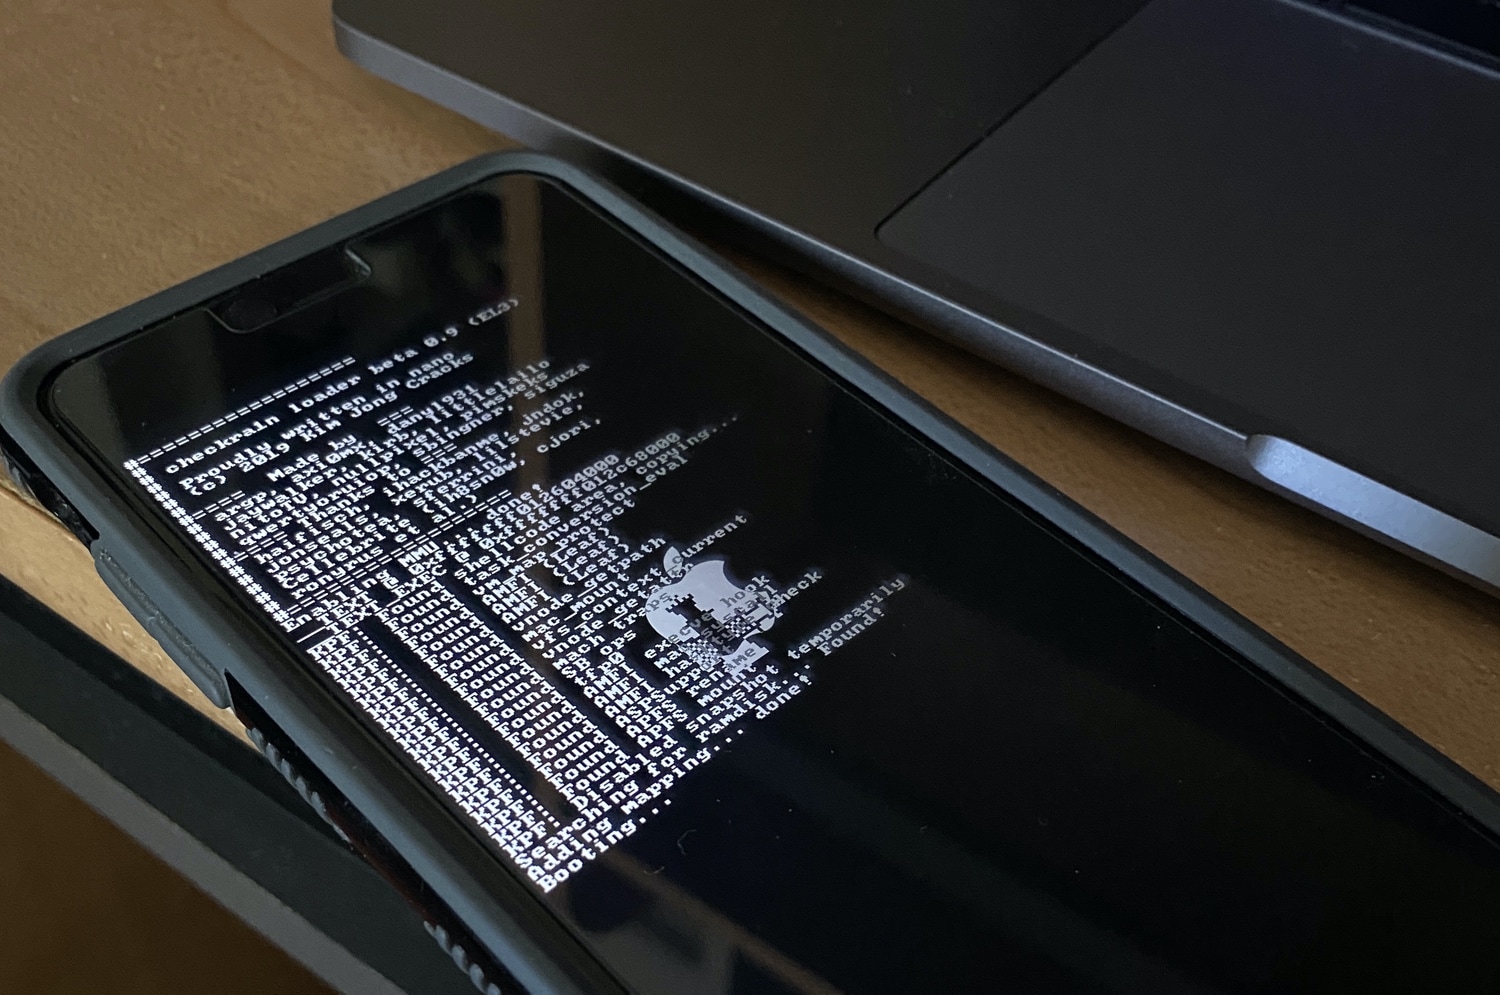
10) Your iOS device should now display the checkra1n-themed verbose boot screen. Please do not disconnect it until after the jailbreak completes:
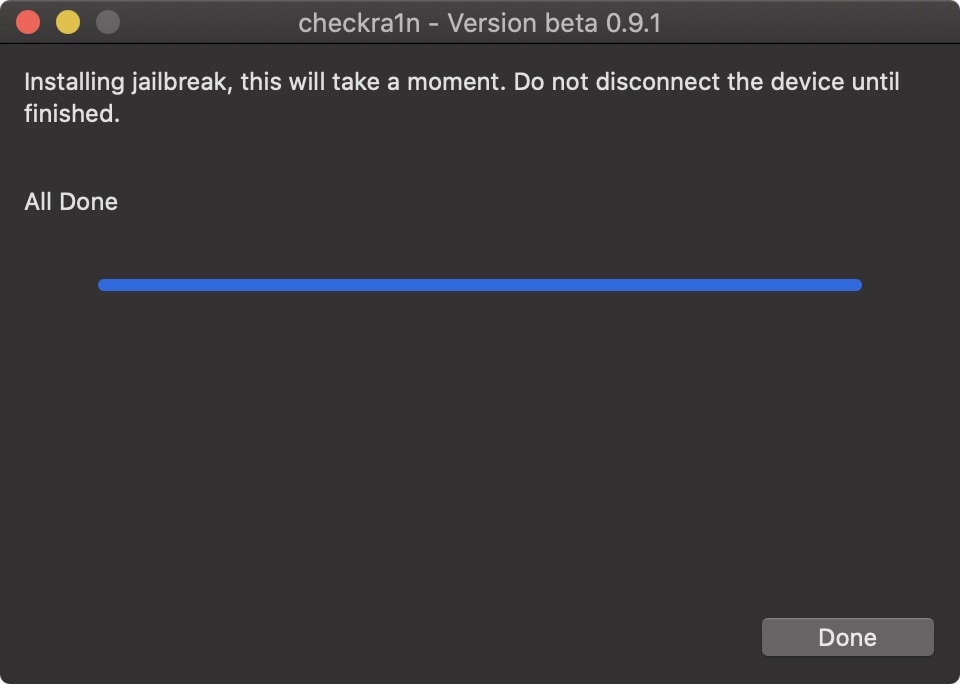
11) After the jailbreak finishes, you can close the checkra1n application:
12) You should now see the checkra1n loader app on your iOS device’s Home screen. Open it:
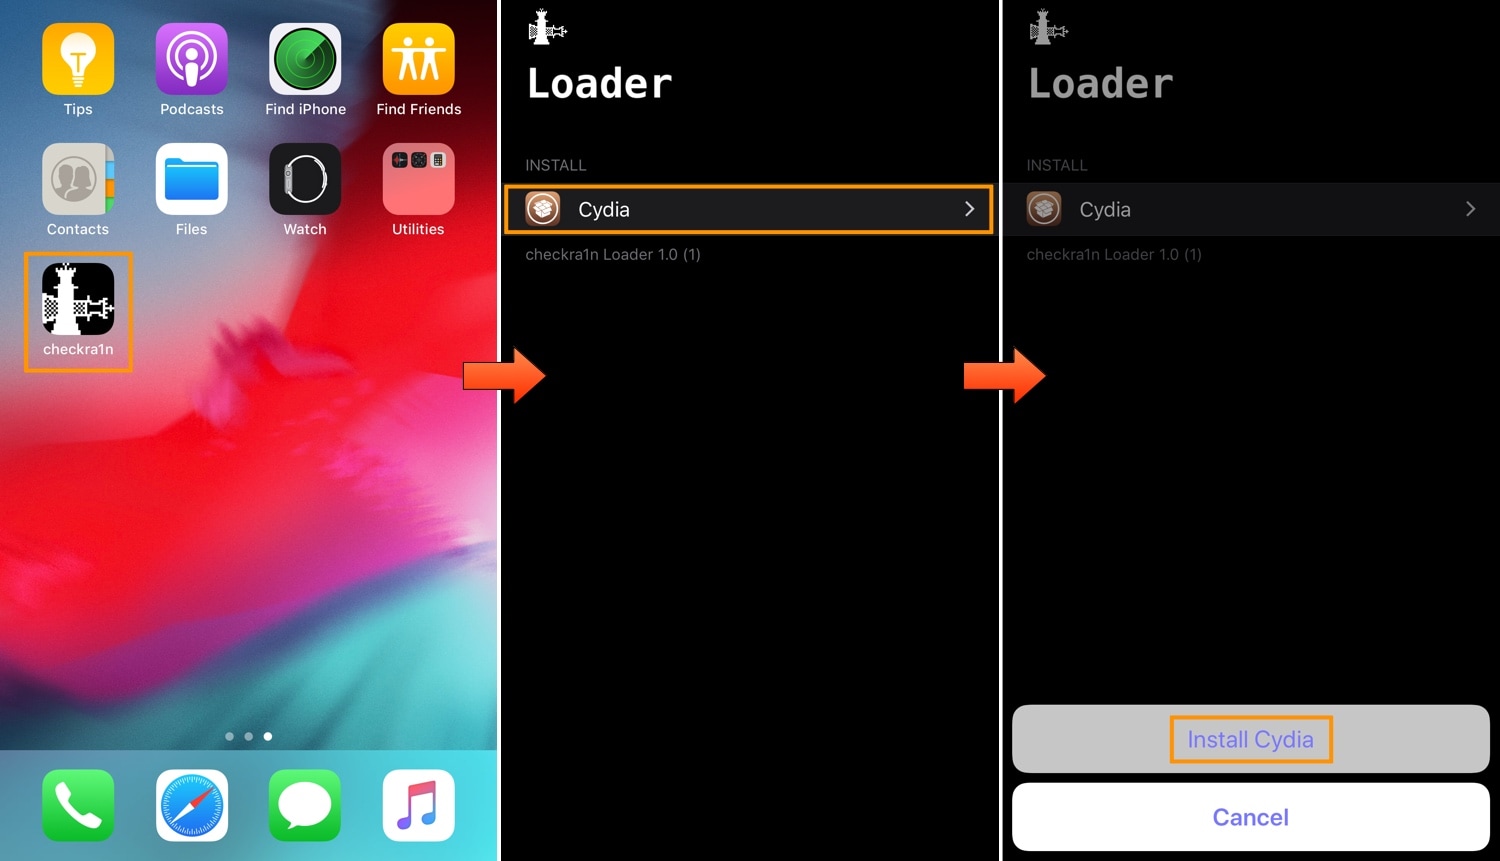
13) Tap on the Cydia cell, then on the Install Cydia button that appears.
14) The checkra1n loader will now begin downloading the base system and installing Cydia:
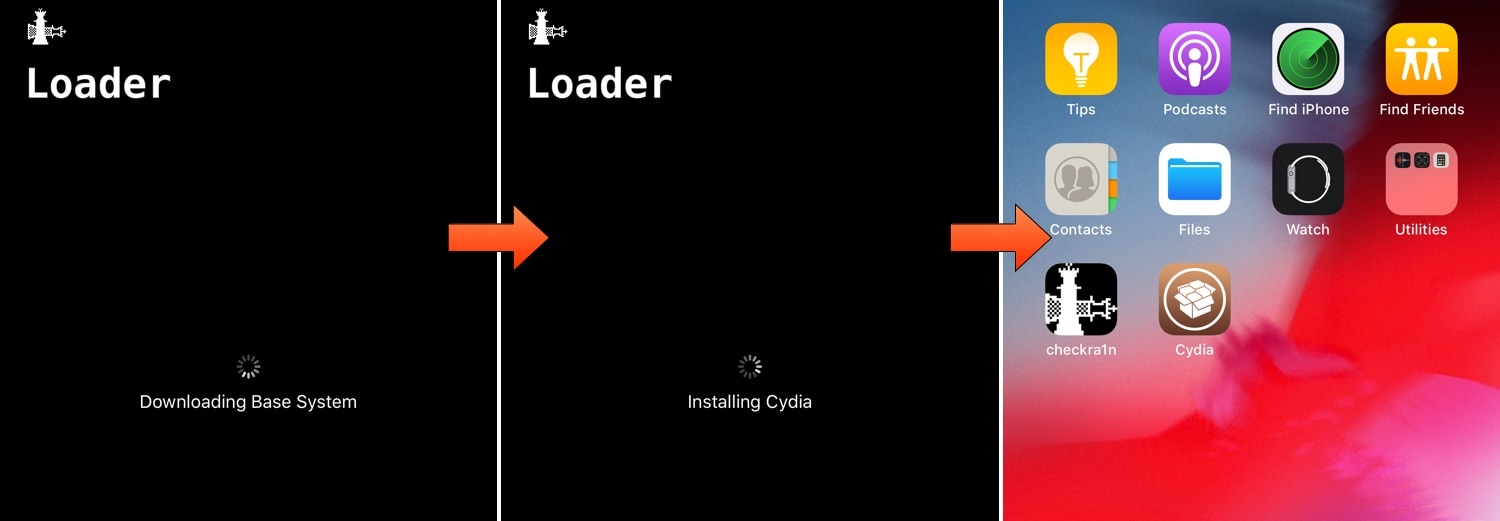
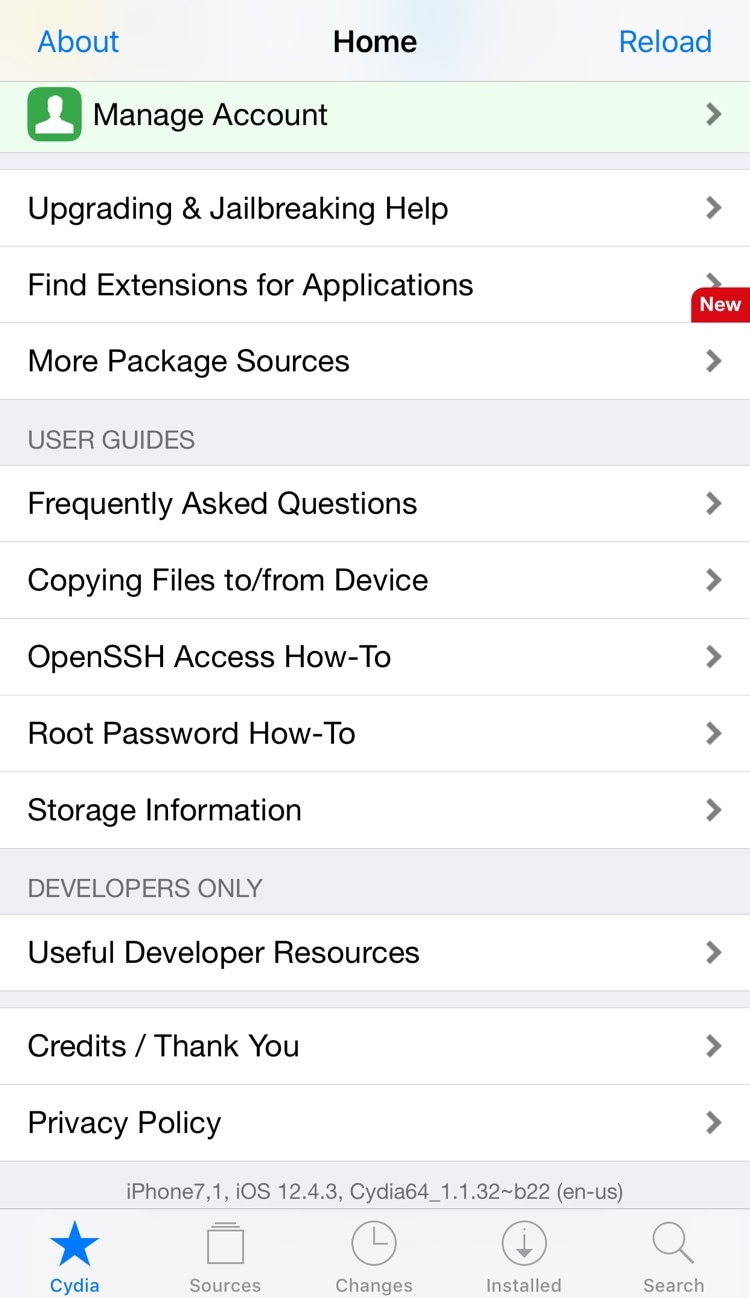
15) When finished, the app will close and Cydia will appear on your Home screen.
Source: IDB