 4807
4807
 2017-06-26
The Notes app in iOS 11 has a new hidden feature – the ability to scan documents and directly add them to a note. While it’s not as feature rich as third party apps, it has the basics covered – automatic scanning and border detection, multiple scans, grayscale mode and more.
Here’s how it works.
How to Scan Documents in Notes App
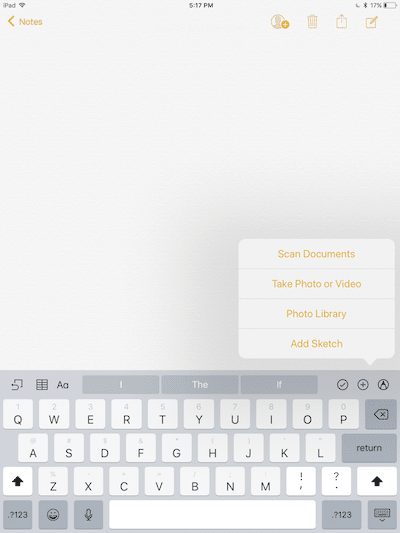
Step 1: In the Notes app, open a note and then tap the Edit button.

Step 2: From the popup menu, select Scan Documents.

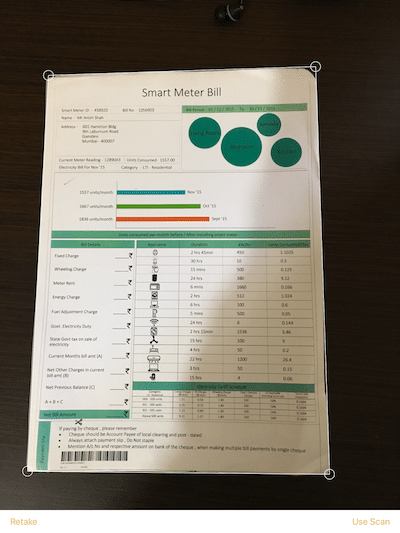
Step 3: You’ll now get into the document scanning screen. By default, this feature is in Auto mode. Tap on the Manual button if you want to take control yourself.
Step 4: You’ll now be able to crop the page. Tap on one of the edges that are highlighted with a dot. This is a great way to manually take correct any mistakes that the scanning algorithm made.

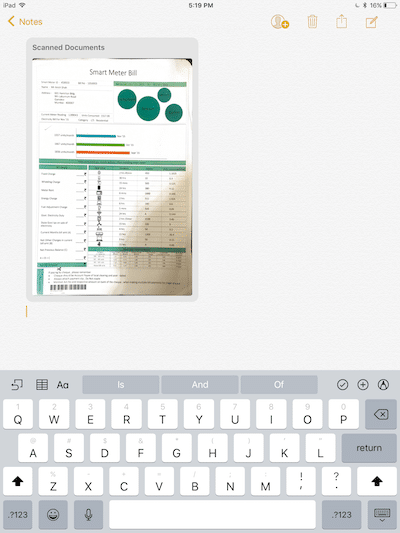
Once the document is scanned, it will show up as a preview inside the note. You can tap on it to view it. You can rename it as well.
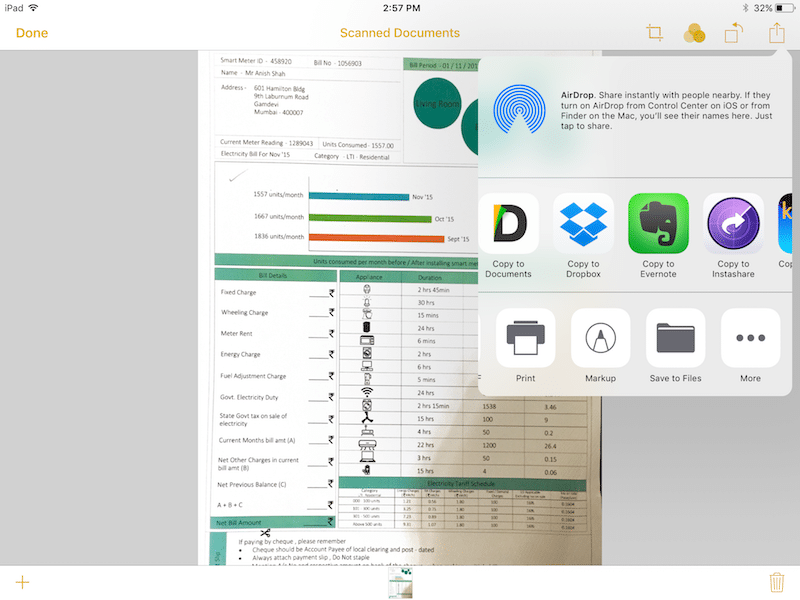
Using the Share sheet, you’ll be able to export the scanned document to any app that supports the import functionality. For example, you can send it a conversation in Slack or add it to the new Files app in iOS 11. I was able to send the scanned document to Dropbox app. It was saved as a PDF.
