 9298
9298
 2017-07-28
Apple ID as important credential used in multiple features on Apple’s products, in general, we will select the region we currently living as the default country/region in Apple ID Settings. But for some reasons, we may need to switch the Apple ID region to another country, such as you might stumble on an app which is available for only some countries, or even you moved to a different country for work or any other purpose.
However, for whatever reason, if you decide to do that, you can change the country for Apple ID according to the following step by step tutorial.
If you have a credit card belongs to the country you want to switch to, then you can add or change credit card detail for Apple ID to further change region. Course adding Payment information is temporary, and you can remove Credit Card Detail from Apple Account after changing the country.

Step1: Just launch iTunes Store/ App Store on your iDevice
Step2: Click on your Apple ID at the bottom, and hit View Apple ID, and then Enter Password to manage
Step3: Now Tap on Country/Region
Step4: Select Change Country or Region
Step5: Select the country from drop down list, and click Change
Step6: Now you may get a page where you need to click on continue, and then accept terms and conditions
Step7: The last step is to provide the valid payment information along with a valid billing address and mobile number.
Step8: Rest of the steps are same as on Mac. You need to select the Country you want to choose for your Apple ID, Enter the Payment information, billing address as in new country and save.
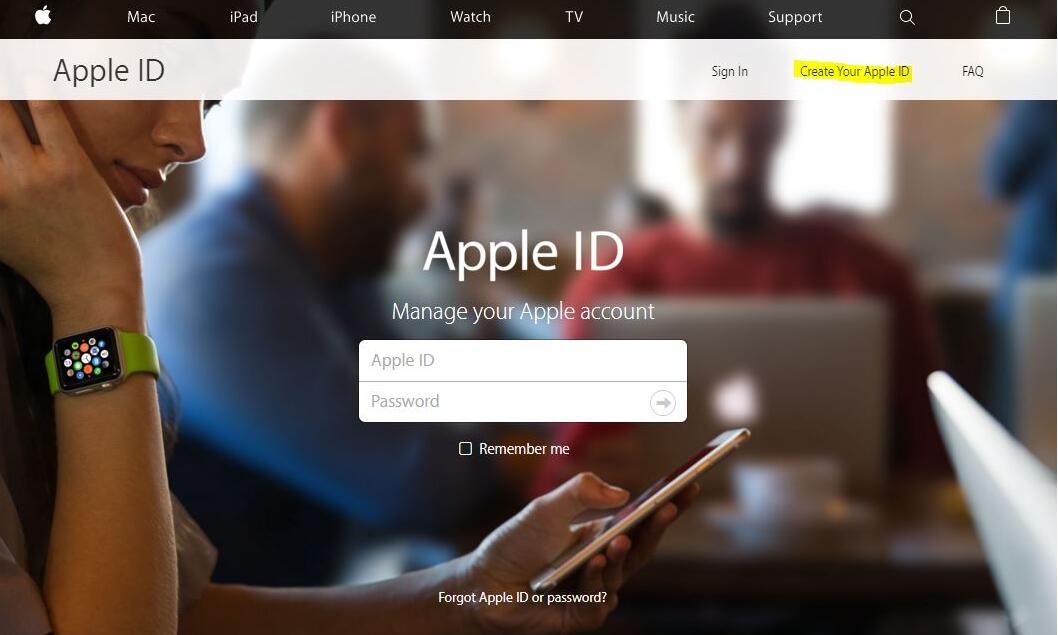
But if you do not have a foreign credit card, then you can create a new Apple ID to change country without payment information.
Source: applelives