 59741
59741
 2018-03-07
A lot of users upgraded to iOS 10.3.3 now that we have a jailbreak. However, a lot of them are still willing to go back due to performance issues. Here’s how you can downgrade iOS 10 to iOS 8.4.1 without SHSH Blobs.
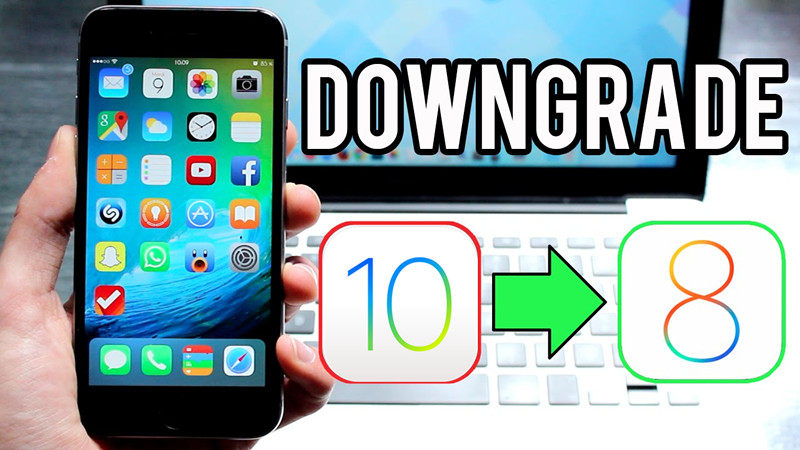
Remember, once you try this tutorial, you can’t update to iOS 10.3.3 again via OTA. Apart from that, you will lose all your data if you try it.
Compatibility
You can try this method on the following devices –
iPhone 5(These two methods only support iPhone 5,1. I tried to downgrade on iPhone 5,2, but failed to activate the device.)
iPad 4
Requirements
A compatible iPhone or iPad
A computer running Windows, macOS, or Linux
Internet
Note
iPhone 5c does have a jailbreak but it won’t work with this method since it shipped with iOS 7.
Method 1 makes changes to your NVRAM and thus allows downgrading. Method 2 needs a modified MAC address because Apple blocked the previous address. Highly recommend users to try Method 1 as it’s completely automatic and easier to use.
Method 1 - Modify nvram
Step 1 Jailbreak your device on iOS 10.3.3.
Step 2 Add source: repo.ftios.vn repository, and install the Downgrade iOS 10.x to 8.x package from this source.
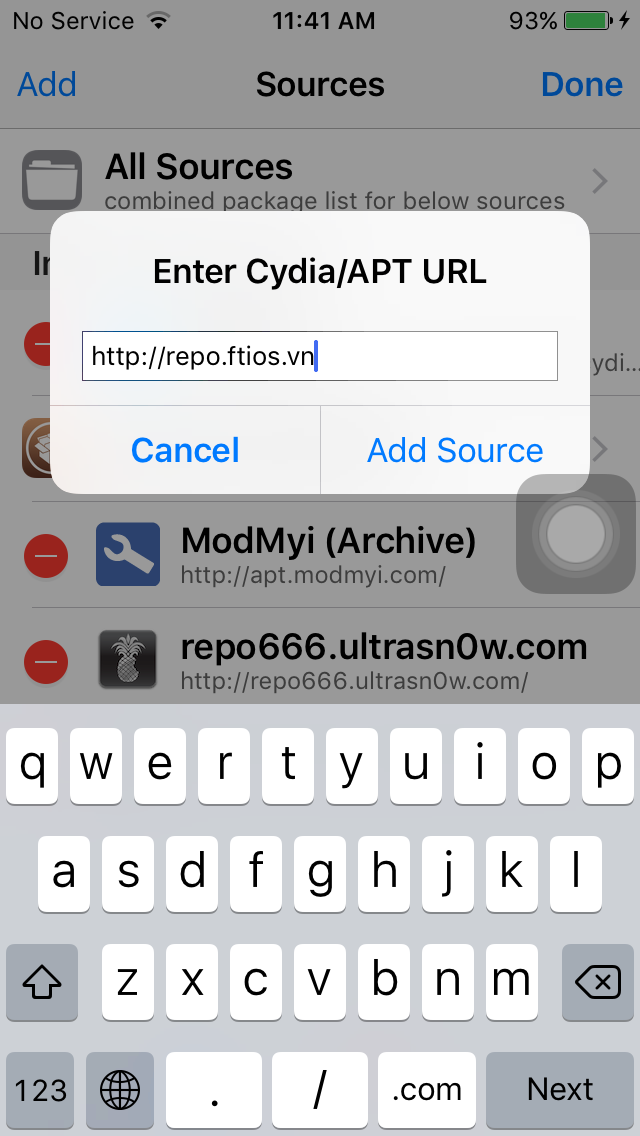
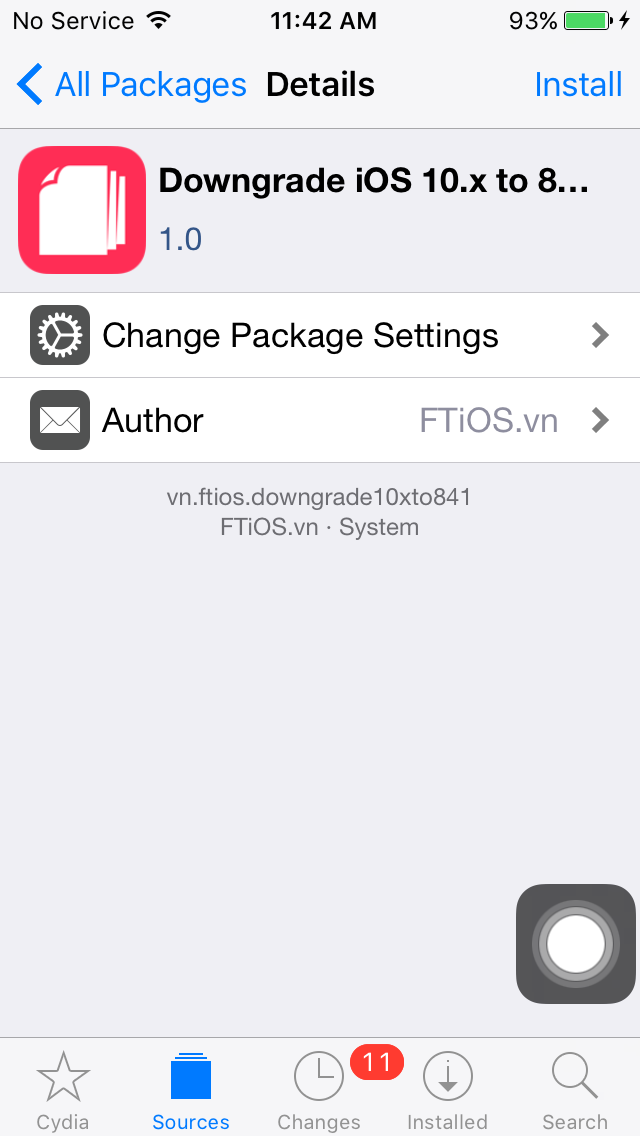
Step 4 Restart your iPhone or iPad.
Step 5 Open the Settings app and go to General > Software Update.
Step 6 Install the iOS 8.4.1 update via OTA. Please wait patiently, this progress would take around 10 to 20 minutes.
Step 7 Open Settings again and go to General > Reset > Erase all Contents and Settings.
Method 2
Step 1 jailbreak your device on iOS 10.3.3.
Step 2 Launch Cydia and install OpenSSH, MTerminal and Filza.
Step 3 Open Filza from your home screen and navigate to this location – /System/Library/CoreServices/SystemVersion.plist. Modify its details as follows –
Version number – 6.1.3
Build number – 10B329
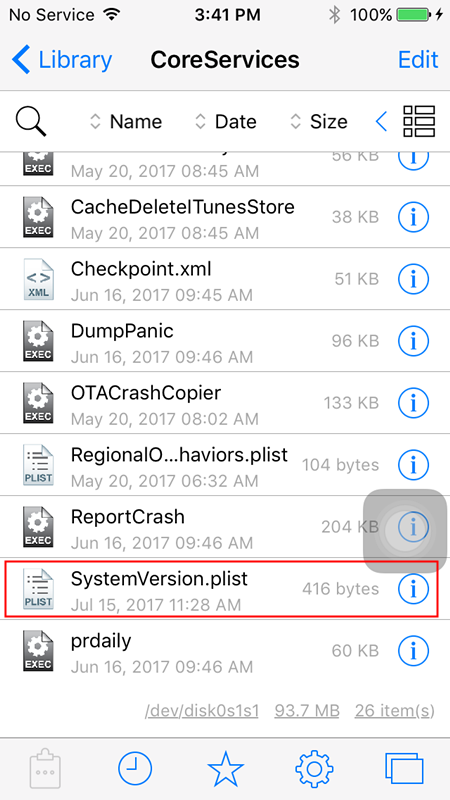
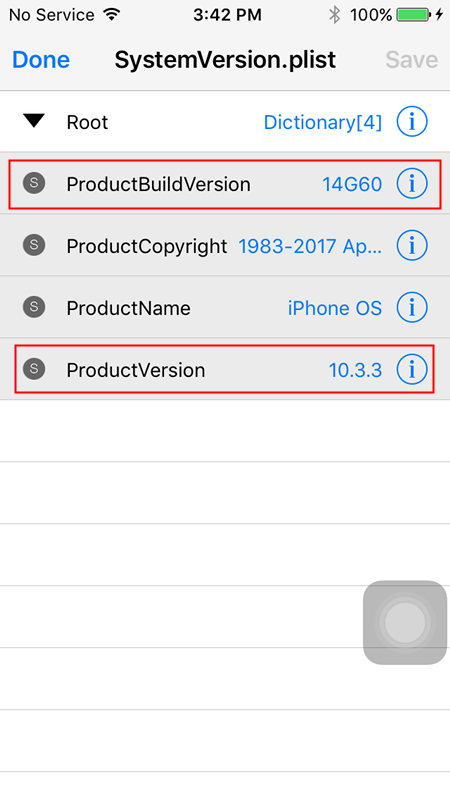
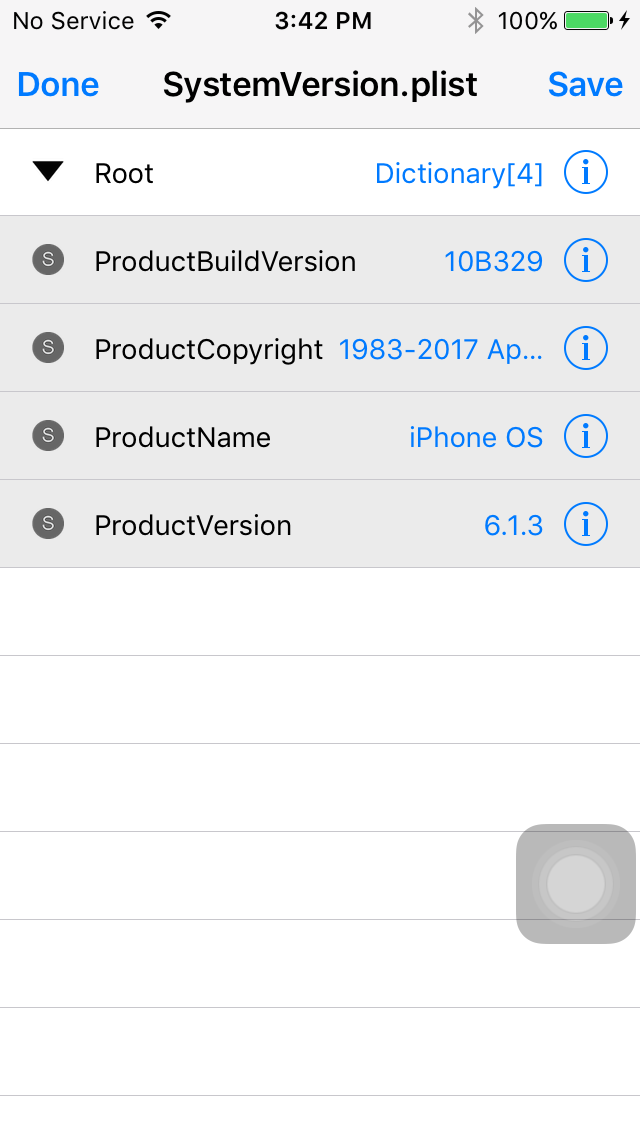
Step 4 Go to Settings > General > About and note your Wi-Fi Adress.
Step 5 Launch MTerminal and enter the following commands. Don’t forget to press enter/return key after each line. This command will change the MAC address of your device. If your MAC address is XX:XX:XX:XX:XX:A5, change its last digit such that your MAC address becomes something like XX:XX:XX:XX:XX:A4.
su
alpine
nvram wifiaddr=[New MAC Adress]
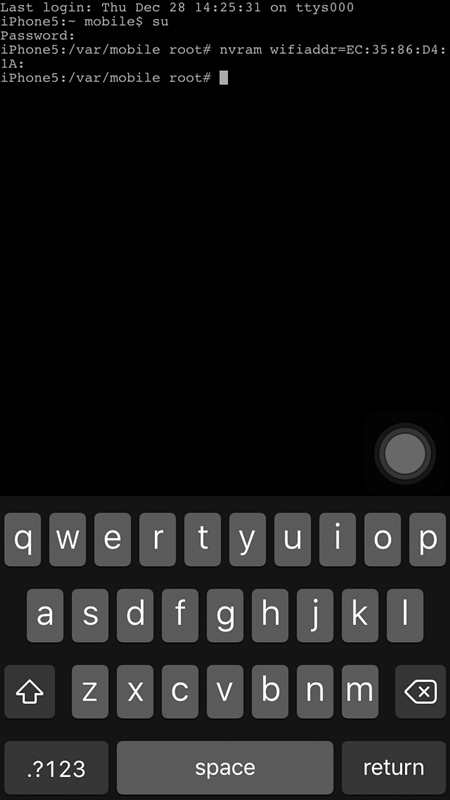
Step 6 Restart your iPhone or iPad.
Step 7 Open the stock Settings application and go to General > Software Update. You will now get the latest iOS 8.4.1 update via OTA as it’s signing window is still open. Download and install this update.
Step 8 Setup your device. And open Settings again and go to General > Reset > Erase all Contents and Settings.