 6058
6058
 2017-01-23
First, the update’s “bill of materials” is compared against the files on your device, generating a list of changes. Then, all files on your device that have been modified or otherwise destroyed are downloaded directly from Apple.
In a series of carefully calculated file migrations, all new files are moved to the user partition, and all system data is moved back to the system partition. Up until this point, the idea is that no changes to your system have been made that are “unsafe”: at any point, if Eraser fails/crashes or your device reboots, you can just run it again later.
Finally, all of the staged changes to the filesystem are “committed”, all user data is deleted, and iOS is told to run its “reset all content and settings”. The idea is that this “critical window” lasts only the final few seconds of a process that lasts for multiple minutes.
That said, I still highly recommend not at all “messing with” the app while it is running, and maybe if you have a lot of data this will take longer than I expect.)
When the device reboots, it will look as it did when you first turned it on; it will also no longer be “jailbroken”: if you want to jailbreak it, you will need to do so using a desktop jailbreaking tool.
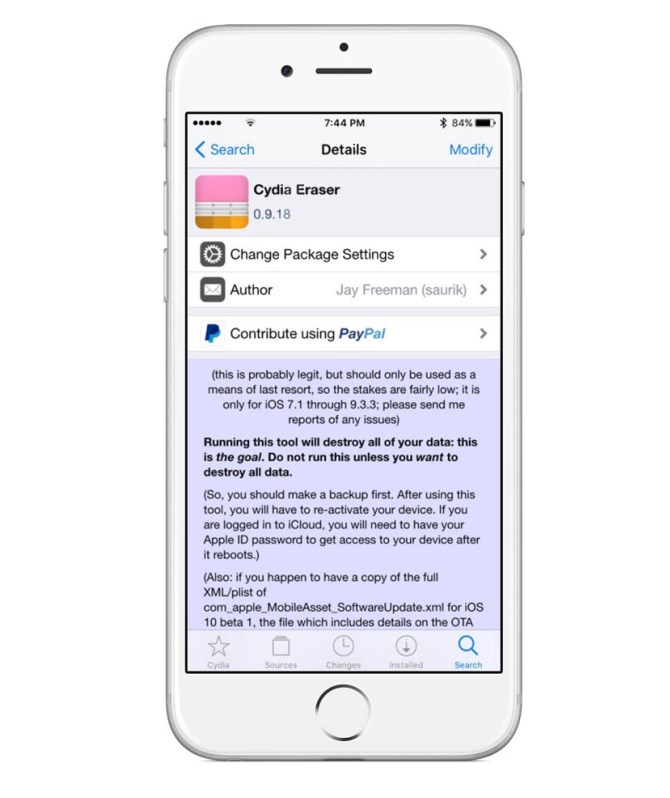
Simple enough? Well, maybe not for everyone, but to summarize, it’s a very clever tool that exploits the OTA system so that your device gets all the resources it needs to replace the modified files on your device with factory-fresh ones from Apple. As a result, you get a factory-fresh installation of your current iOS version when you run the tool.

Cydia Eraser is to be used as a last resort only if you are having trouble with your jailbroken device, such as when you are having frequent stability issues or when you’re absolutely sure you want to sell or re-jailbreak your device.
This is because Cydia Eraser effectively erases your files and settings from iOS. When it finishes running, your device will behave just how it did when you pulled it out of the box after buying it. You’ll have to set it up, activate it, and reinstall all your apps and apply all your old settings again manually.
When you’re done, you can either put it back in the box to sell, or you can attempt to jailbreak the device again and hope for the best the second time around.
Whatever you’re using it for, it works wonders, so if you need to un-jailbreak your device and you don’t want to update the firmware, Cydia Eraser is the way to go.
With Cydia Eraser now officially supporting iOS 9.3.3, those who jailbroke with the Pangu jailbreak tool can now un-jailbreak their devices without being prompted to update to iOS 9.3.4 in iTunes. Although iOS 9.3.3 is still being signed as of this writing, Cydia Eraser is the safest way to un-jailbreak your device at this point in time.
If you need to use it, you can download it from Cydia right now. You’ll find it in the Cydia/Telesphoreo repository.