 1897892
 2019-07-10
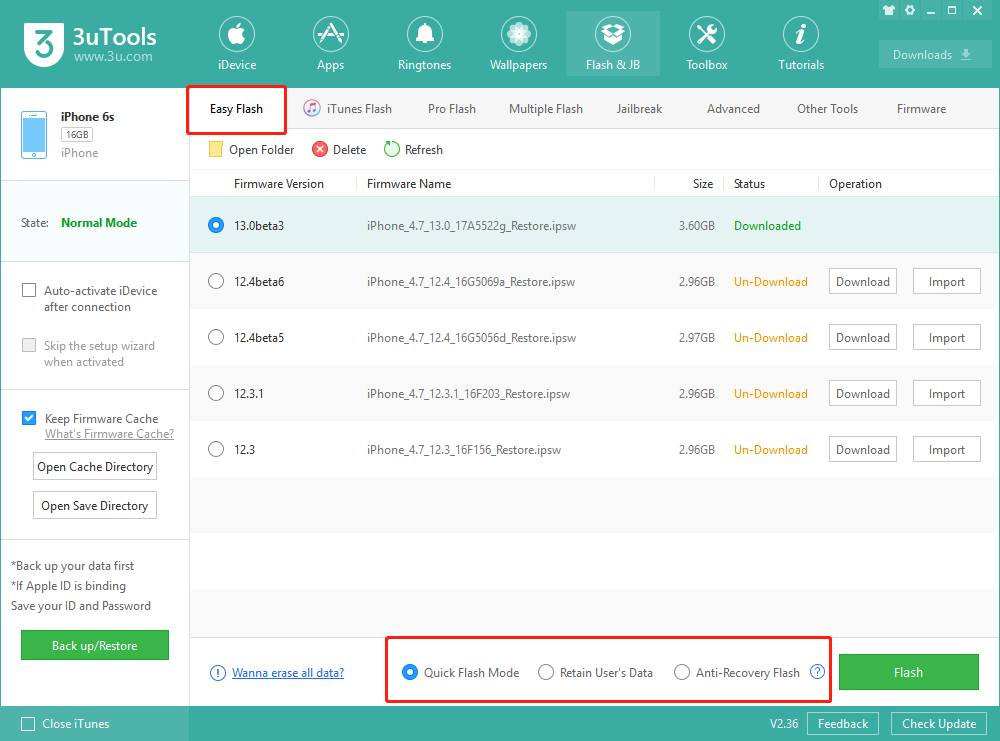
On 3uTools Easy Flash, there are three modes: Quick Flash Mode, Retain User’s Data, Anti-Recovery Flash.
※ Quick Flash Mode: This mode is suitable for maintenance staff, sales clerk and ordinary users to achieve these goals: update iOS version quickly; clear user data, restore to factory state or try to repair iOS version
※ Retain User’s Data: This mode is only used to update the iOS version or try to repair the iOS version. All installed applications and user data in the iDevice will be preserved.
※ Anti-Recovery Flash: This mode is suitable for people who want to sell their own iDevice or want to destroy the private data inside the iDevice. Because each memory unit of the hard disk chip in the iDevice need to be formatted, the flashing speed will be very slow and take up to several hours.
Flashing Instructions of 3uTools:
Step 1: First, download and install the latest version of 3uTools, connect the iDevice to the computer with a USB cable; Go to Flash & JB → Easy Flash, when connection succeeds will automatically match the flash firmware. As shown below, the supported available iOS versions will be displayed inline.
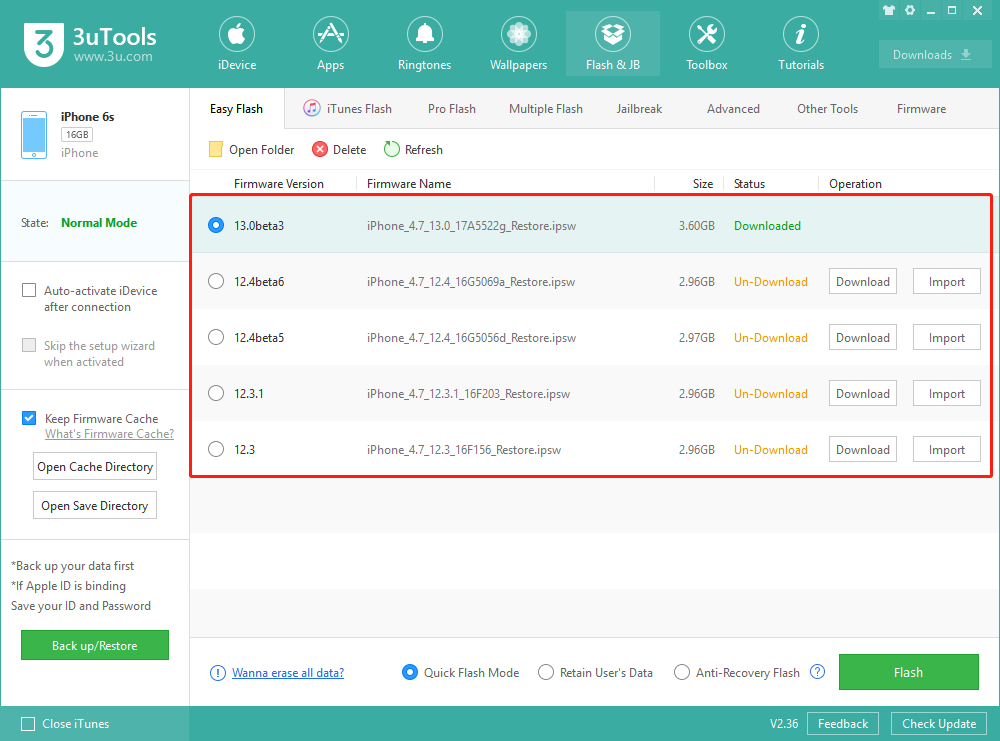
Step 2: Choose the firmware you want to flash, select one of the three modes among Quick Flash Mode, Retain User’s Data, Anti-Recovery Flash. (Easy Flash doesn't require to enter into DFU mode. Normal mode, Recovery mode, DFU mode all can be flashed in Easy Flash Section. If you encounter special circumstances such as white apple, you can refer to the following models into the DFU mode, after entering DFU mode flash it again.)
- How to enter DFU mode for iPhone 6s and earlier models, iPad or iPod touch:
1. Insert the USB cable while keeping the iDevice in the power on or recovery mode.
2. Press the "HOME" button of the iDevice first, do not release it, and then press the "Power button" of the iDevice. Do not release it until the iDevice screen goes out and then release the "Power button" of the iDevice for about 4 seconds, but do not release it. "HOME button", until the software connection status prompts "DFU mode" and then release the "HOME button".
(Note: iPad Air 3/mini 5 still uses this method).
- How to enter into DFU mode on iPhone 7 or iPhone 7Plus:
1. Insert the USB cable while keeping the iDevice in the power on or recovery mode.
2. Press the "Volume Down" button of the iDevice first, do not release it, and then press the "Power On" button of the iDevice. Do not release it until the iDevice screen goes out and then release the "Power On button" of the device for about 4 seconds, but don't loose it. Turn on the “Volume Down Key” until the “DFU Mode” prompts the software connection status and then release the “Volume Down Key”.
- How to enter DFU mode on iPhone 8 or above models:
(Applicable: iPhone 8/8 Plus, iPhone X Series, iPad Pro3 (11-inch)/(12.9-inch))
1. Insert the data cable while keeping the iDevice in the power on or recovery mode.
2. Press the “Volume Plus” button of the iDevice to release, press the “Volume Down button” again to release, then press and hold the “Power On button” to not release.
3. Release the “Power On button” until the iDevice screen is off, then immediately press and hold the “Power On” and “Volume Down” buttons for about 5 seconds to release the “Power On Button”, but do not release the “Volume Down” button. Release the "Volume Down button" until the software connection status prompts "DFU mode".
Quick Flash Mode
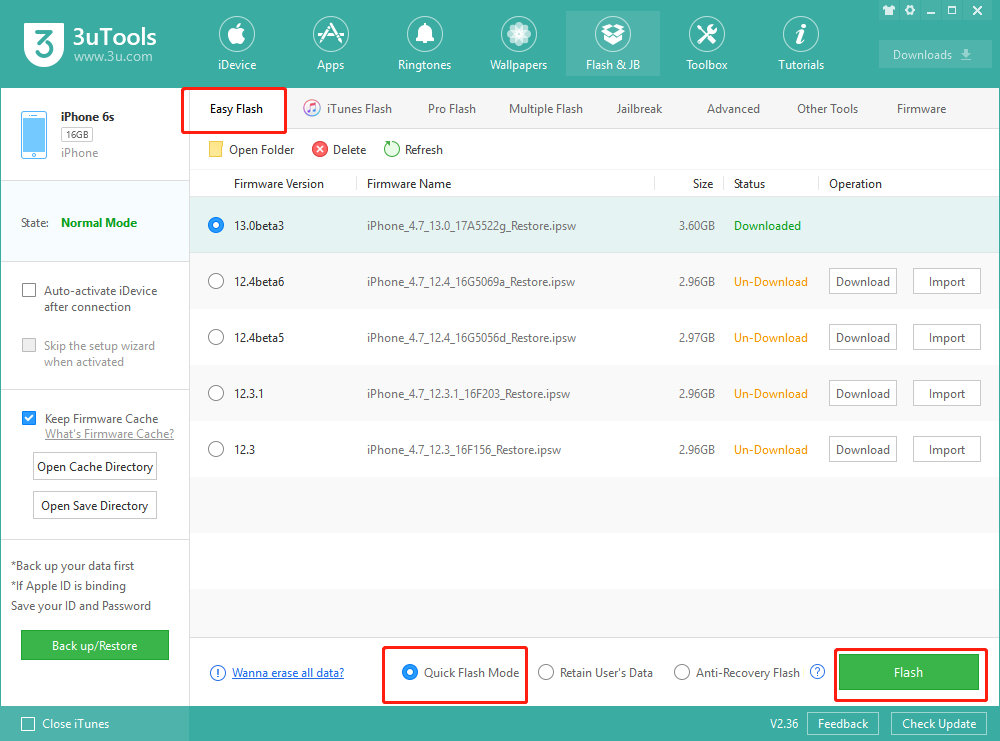
Step 1: First download and install the latest version of 3uTools, connect the iDevice to the computer with a USB cable; Go to Flash & JB → Easy Flash, select “Quick Flash Mode”, click “Flash” below, and then the flash reminder will pop up. After reading it carefully, click “Flash”.
If you have already downloaded the firmware, you can click "Import" and then click "Flash".
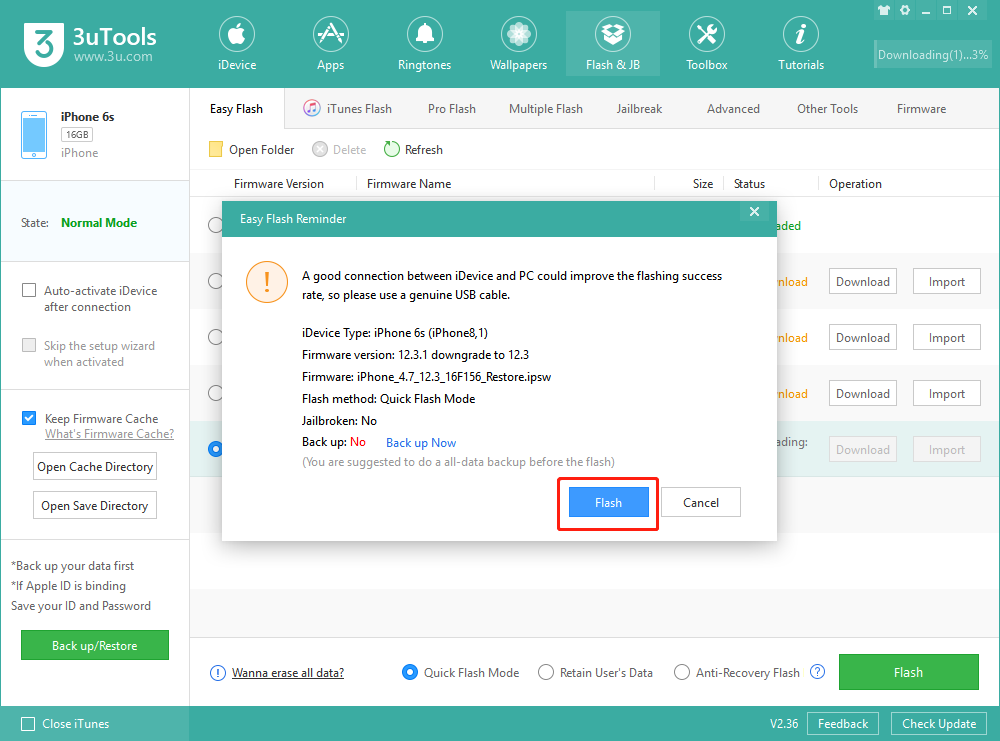
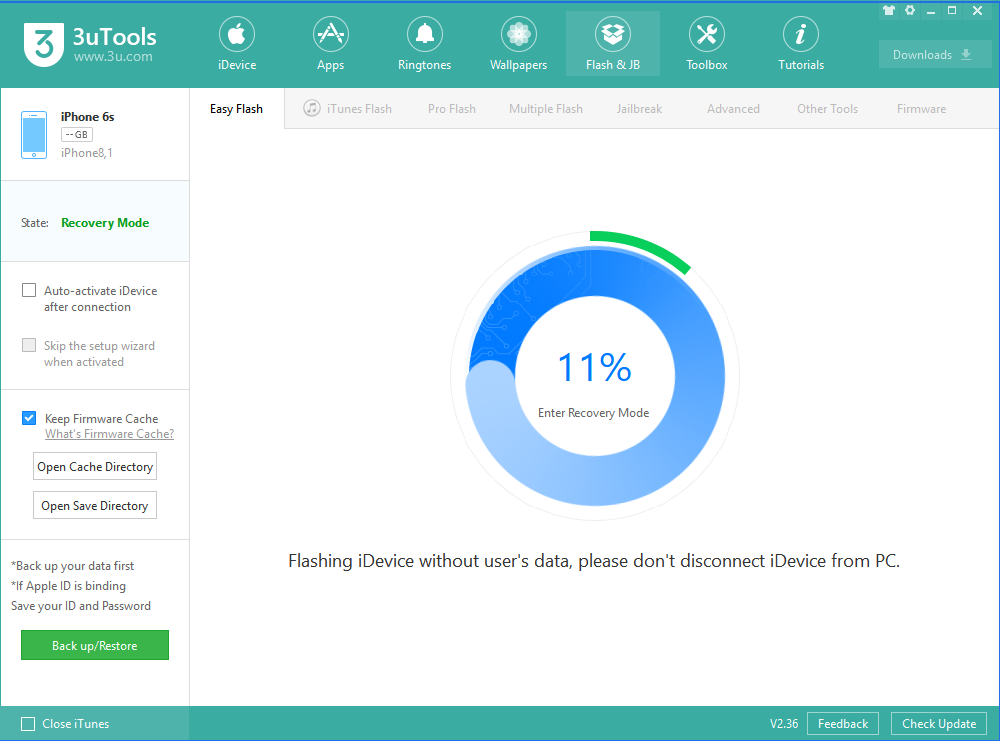
Step 2: Wait for the flash to be finished, as shown in the picture: (The flashing process is about 10 minutes);
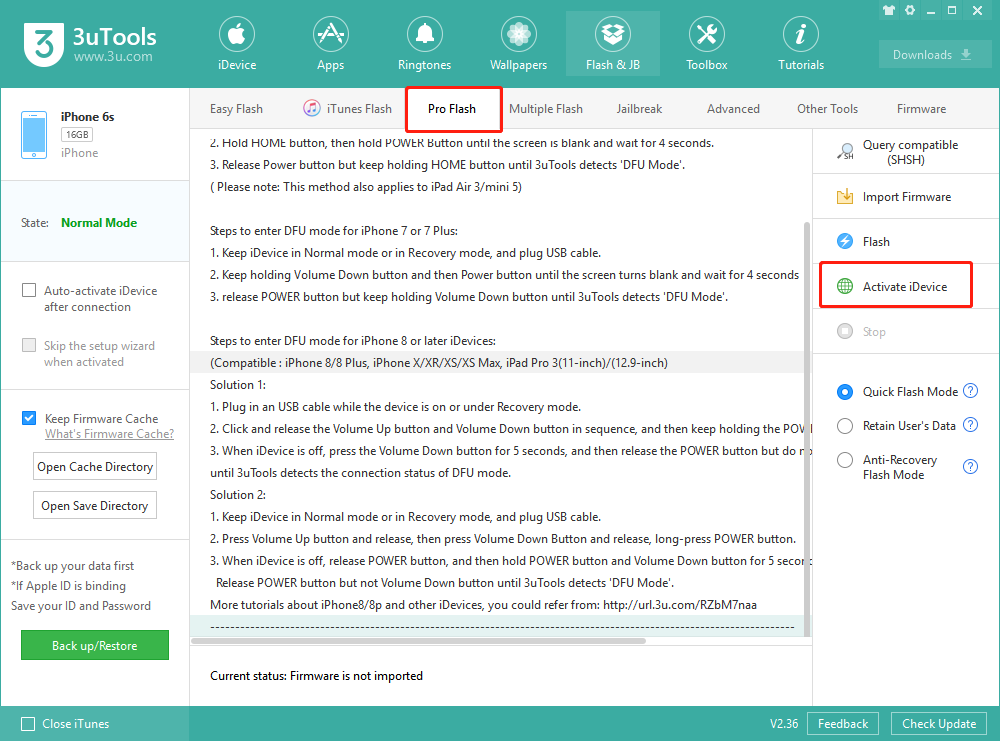
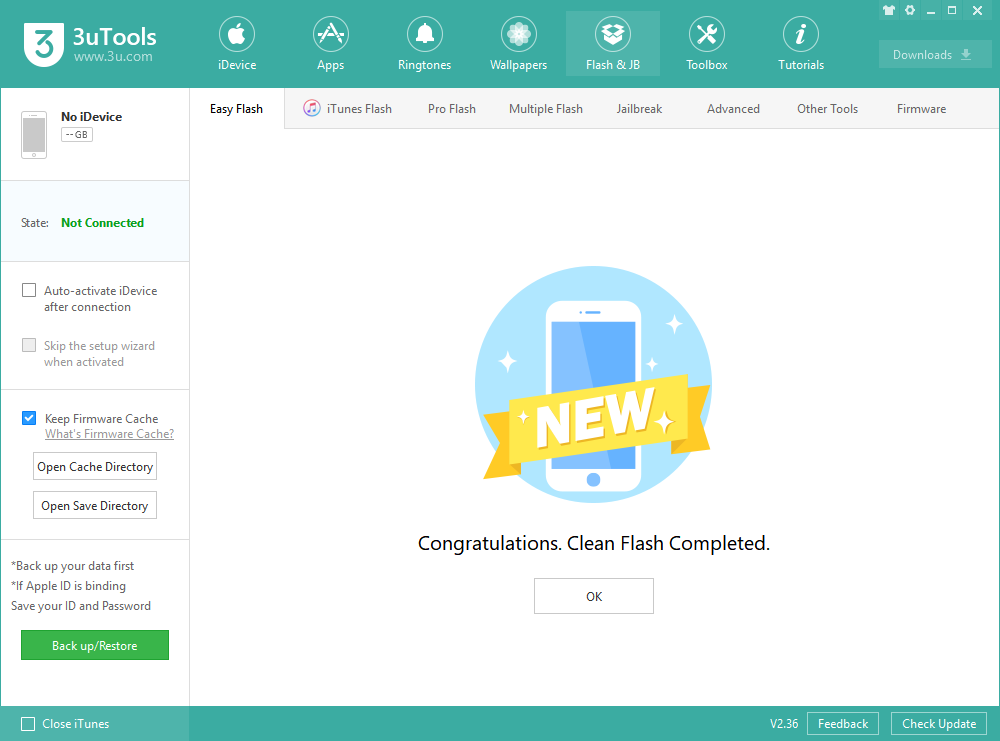
Step 3: After the iDevice is turned on, click “Pro Flash - Activate iDevice” to activate it. (or check "Auto-activate iDevice after connection" before flashing)
Retain User’s Data
Step 1: Open 3uTools, connect the iDevice to the computer with a USB cable; Go to Flash & JB → Easy Flash, select “Retain User’s Data” below, click “Flash”, and then the flash reminder will pop up. After reading it carefully, click “Flash”.
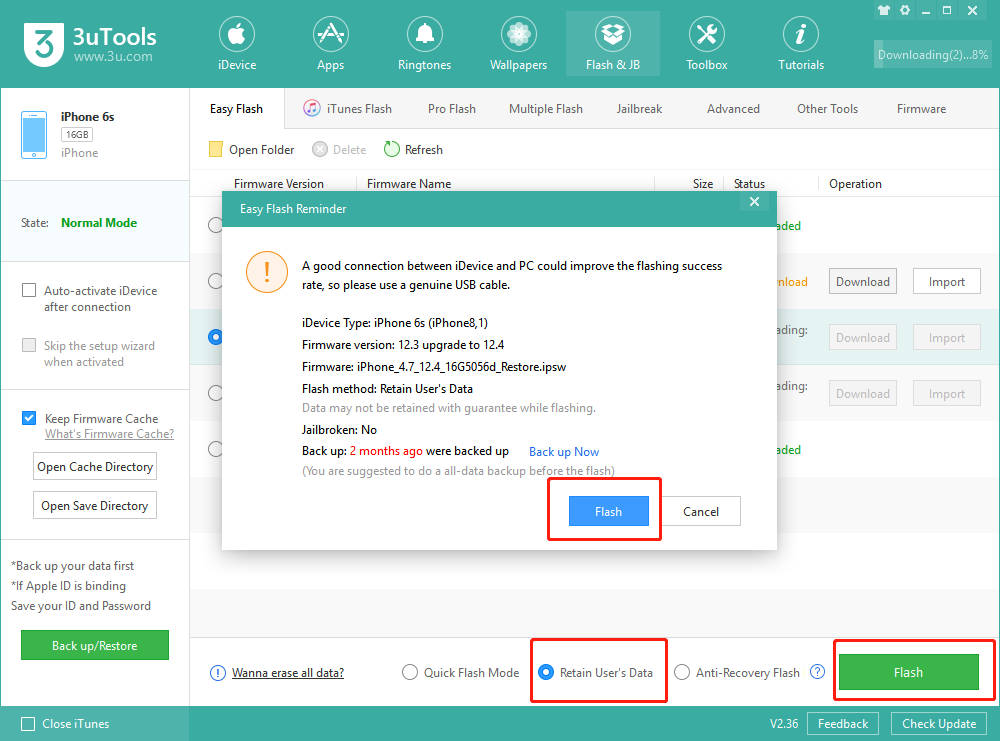
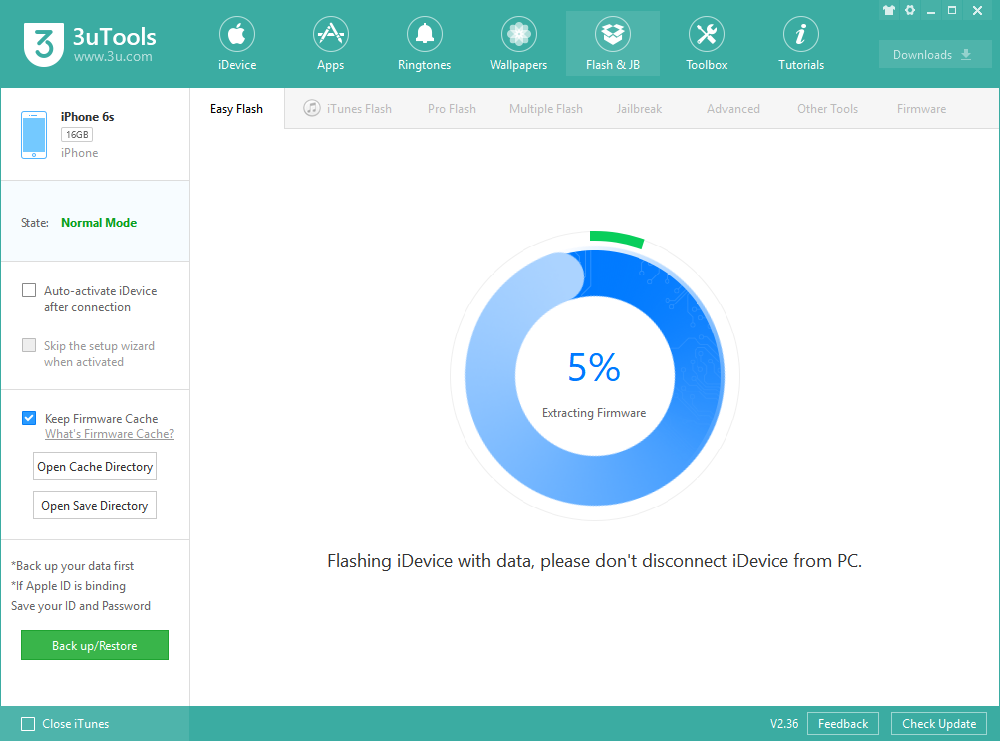
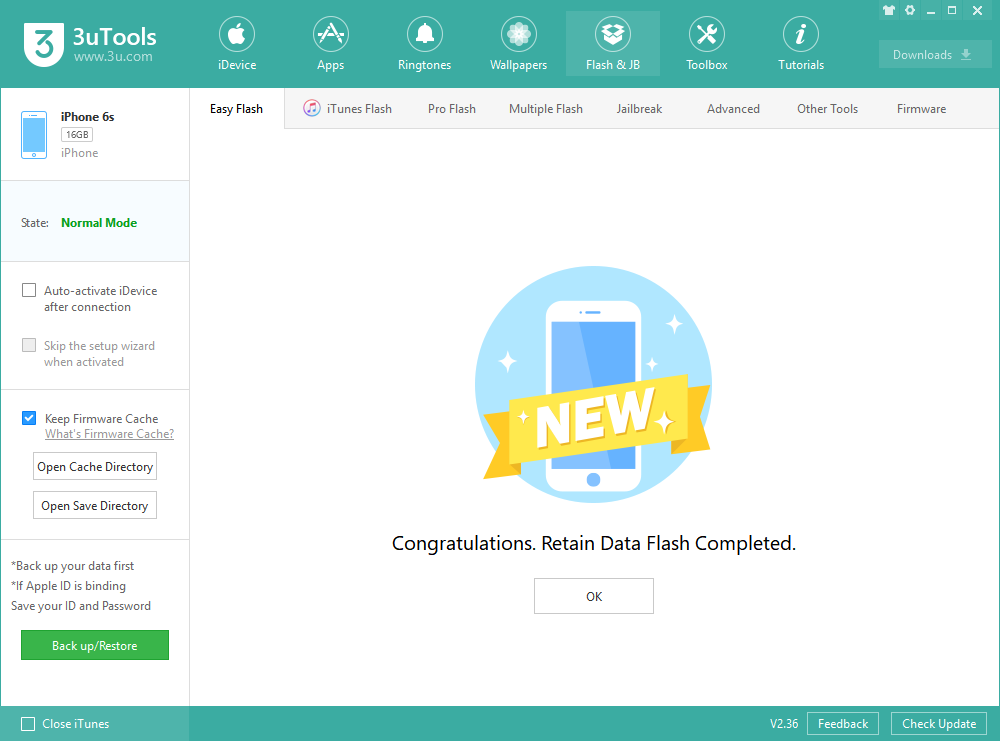
Step 2: Waiting for the flash to complete. (The iDevice will automatically reboot on after the flash is completed, and Retain User’s Data does not need to be activated.)
Anti-Recovery Flash
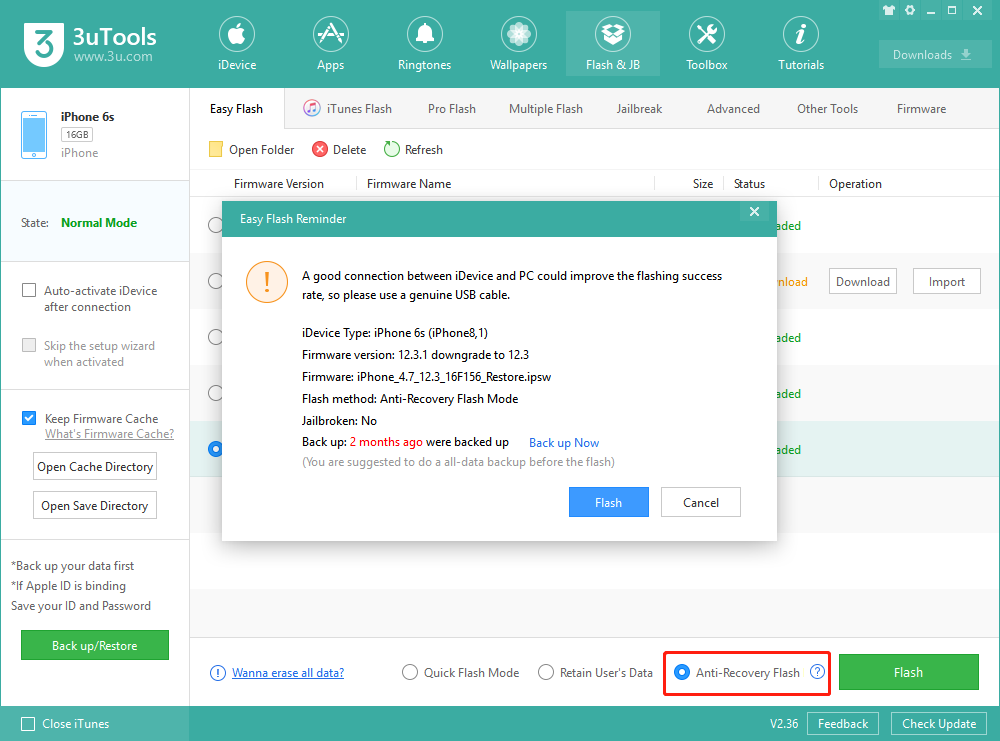
Step 1: Open 3uTools, connect the iDevice to the computer with a USB cable; Go to Flash & JB → Easy Flash, select “Anti-Recovery Flash” below, click “Flash”, and then the flash reminder will pop up. After reading it carefully, click “Flash”.
Step 2: Wait for the Anti-Recovery Flash to be finished, as shown in the picture: (The flashing process is about 10 minutes);
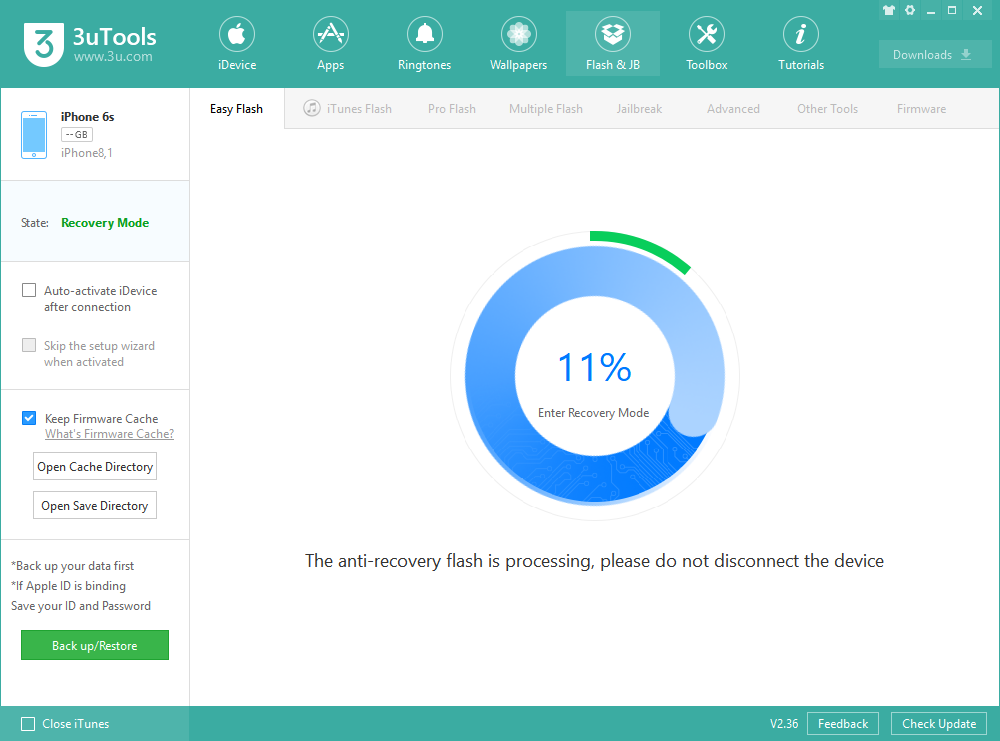
Step 3: After the device restarts, the iDevice will be automatically formatted enter into a deep formatted mode; (do not remove the iDevice after the flash is completed)
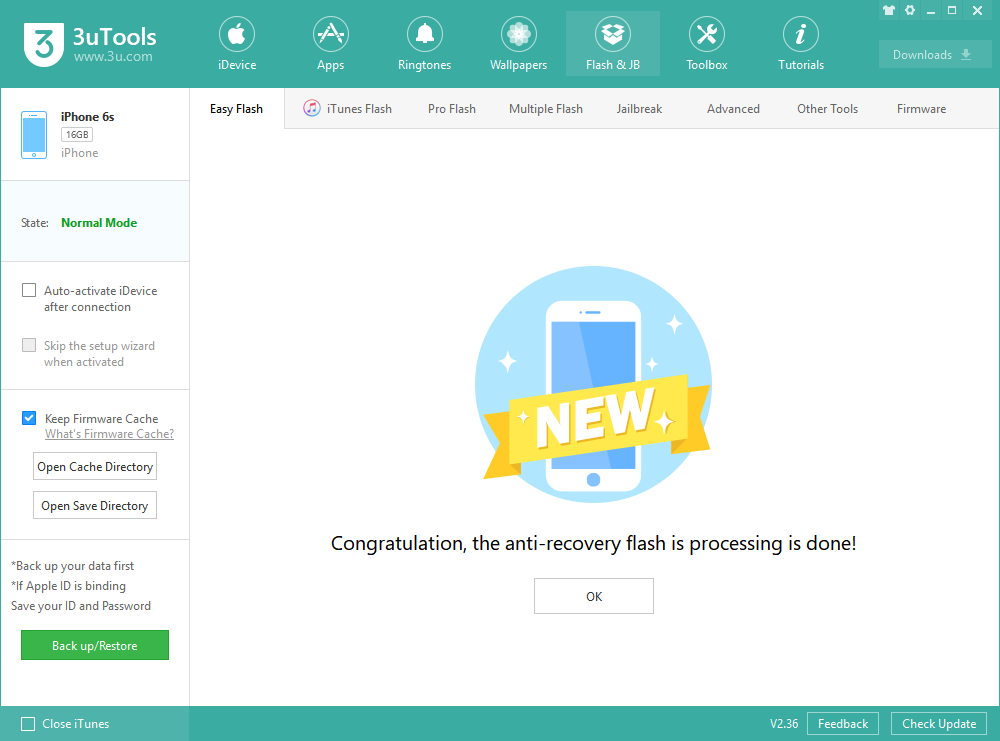
Step 4: Anti-Recovery Flash completed. After the iDevice is turned on, click “Pro Flash - Activate iDevice” to activate it. (or check "Auto-activate iDevice after connection" before flashing)
